How to use Disk Scanner?

Check out how to use Macrorit Disk Scanner in this page

How to scan multiple disks?

The ability to scan multiple disks is the key feature of Disk Scanner, when you run this program, it will load all the disks connected to your computers, no maximum limitations. This is especially useful for Server side computers, which often have more than ten disks installed.

Steps to scan multiple disks at the same time:

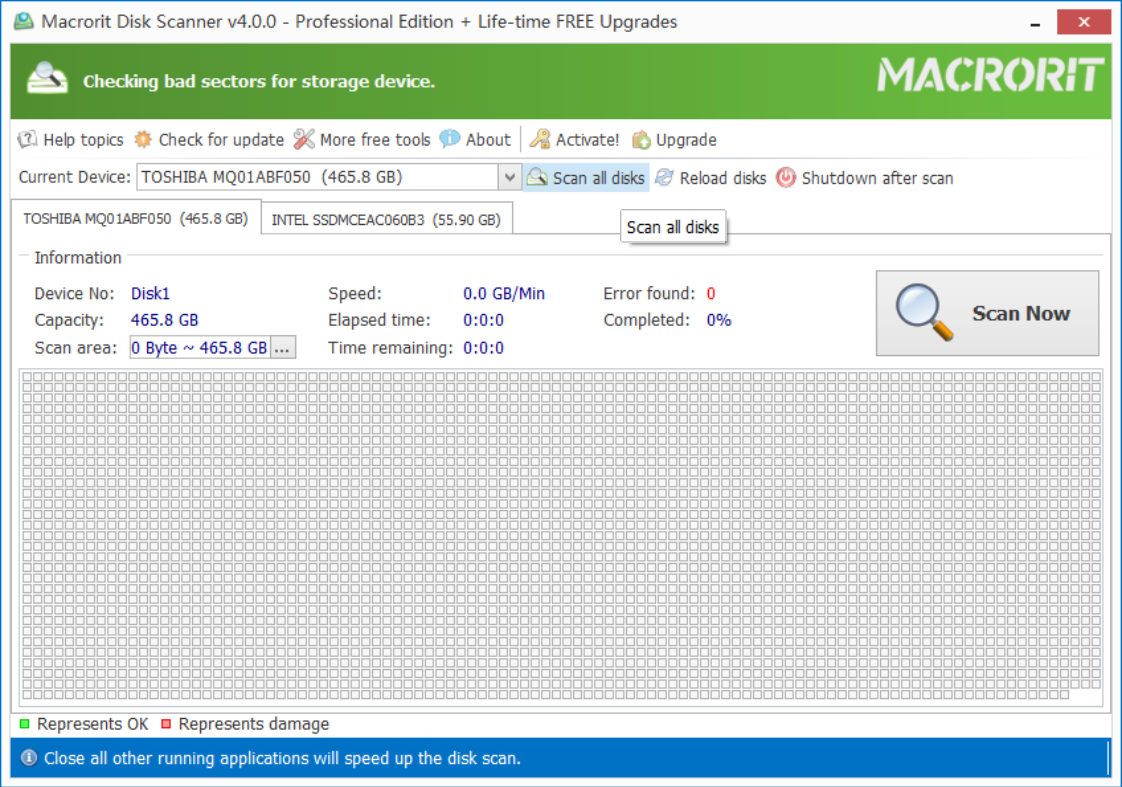
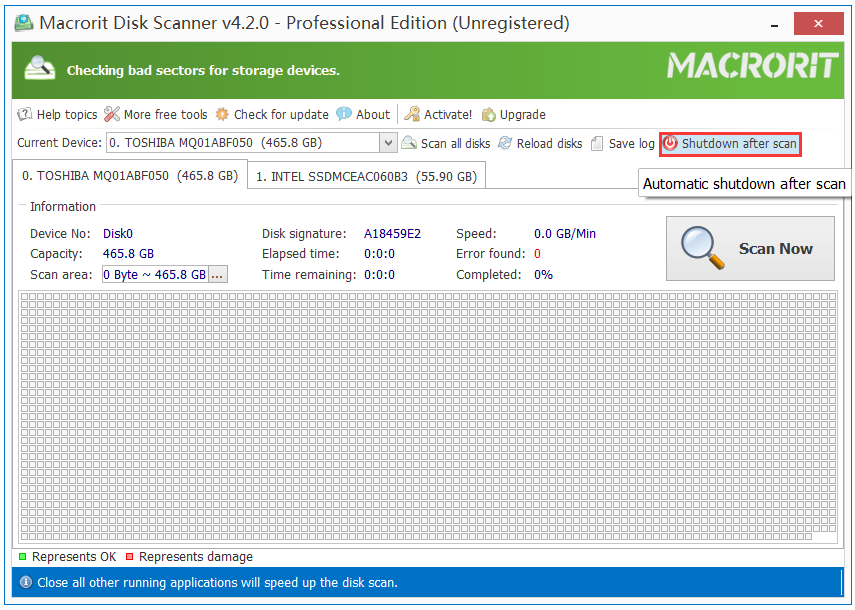
  • In Disk Scanner, all disks are loaded in individual tabs, and in all tabs, you can first specify the scanning area before start.
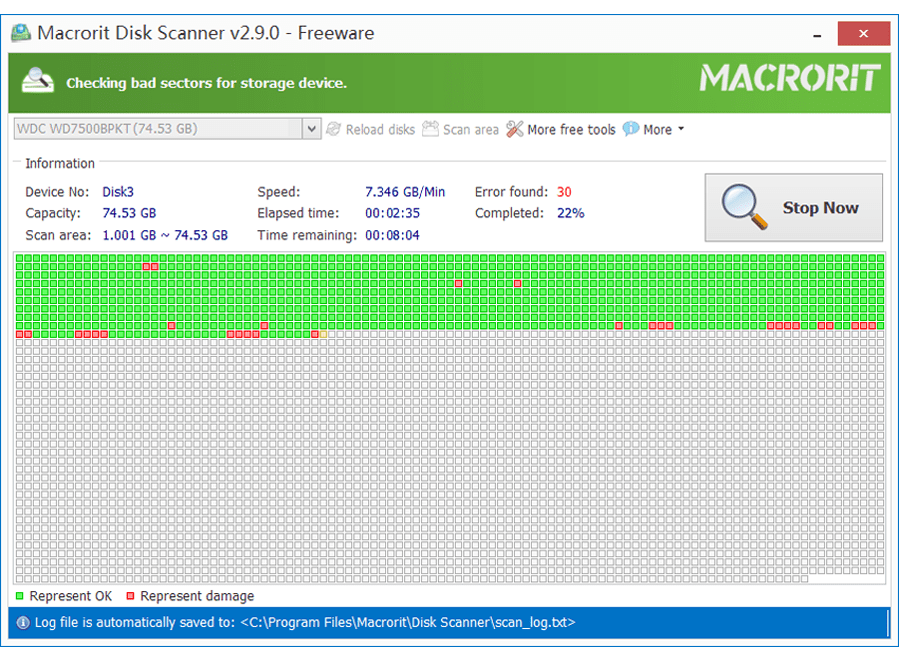
  • Click on the Scan all disks button and Scanner will start.

Tips: Specify scanning area is useful when you’re certain there’re bad sectors on some particular drives or partitions. It will save you reasonable time if the hard drive is a big one.

How to scan single disk?

Steps of scanning single disk require only one click when Disk Scanner is opened. All you have to do is just click the huge button Scan Now.

But if you’re scanning all the disks now and want to cancel it to scan one disk instead, you can:

  • Click Stop all scan first and then click on the target tab (disk).
  • Then choose the area of this disk for Scanner, then click Scan Now, or just scan it directly if you don’t know which area shall be scanned.

Other settings in Disk Scanner

You can set Scanner to shut-down the computer after it finishes scan, the Shutdown after scan button is on the right top of the interface, check the screenshot.

And this is useful when you have to scan all disks or when the hard drive you scanned is very large.

You can check the scan log next time when you turn on the computer.

The scan log will tell you where all the bad sectors are so you can either isolate them if they’re not too many or just replace the hard drive if there are plenty.